


Concrete floor moisture can be a cause for concern regardless of the location it shows up in an apartment or building.
If left unchecked, it could lead to problems like rotting hardwood, damping carpet, and coating delamination.
Moisture issues on concrete floors could be due to many reasons. From the concrete mix itself to the soil under the slab, there are several areas that could be at fault when you notice this problem.
Concrete is naturally porous. While you won't have to worry about the moisture near the surface as it will evaporate, moisture from below or within the concrete will tend to migrate up and through the concrete, escaping through the path of least resistance.
This is known as moisture vapor transmission and can lead to problems associated with moisture on concrete floors.
Signs of Moisture on Concrete Floors
You should be able to notice that there is moisture on the concrete floor right away. But if you're not yet sure, there are some signs to look out for. These includes:
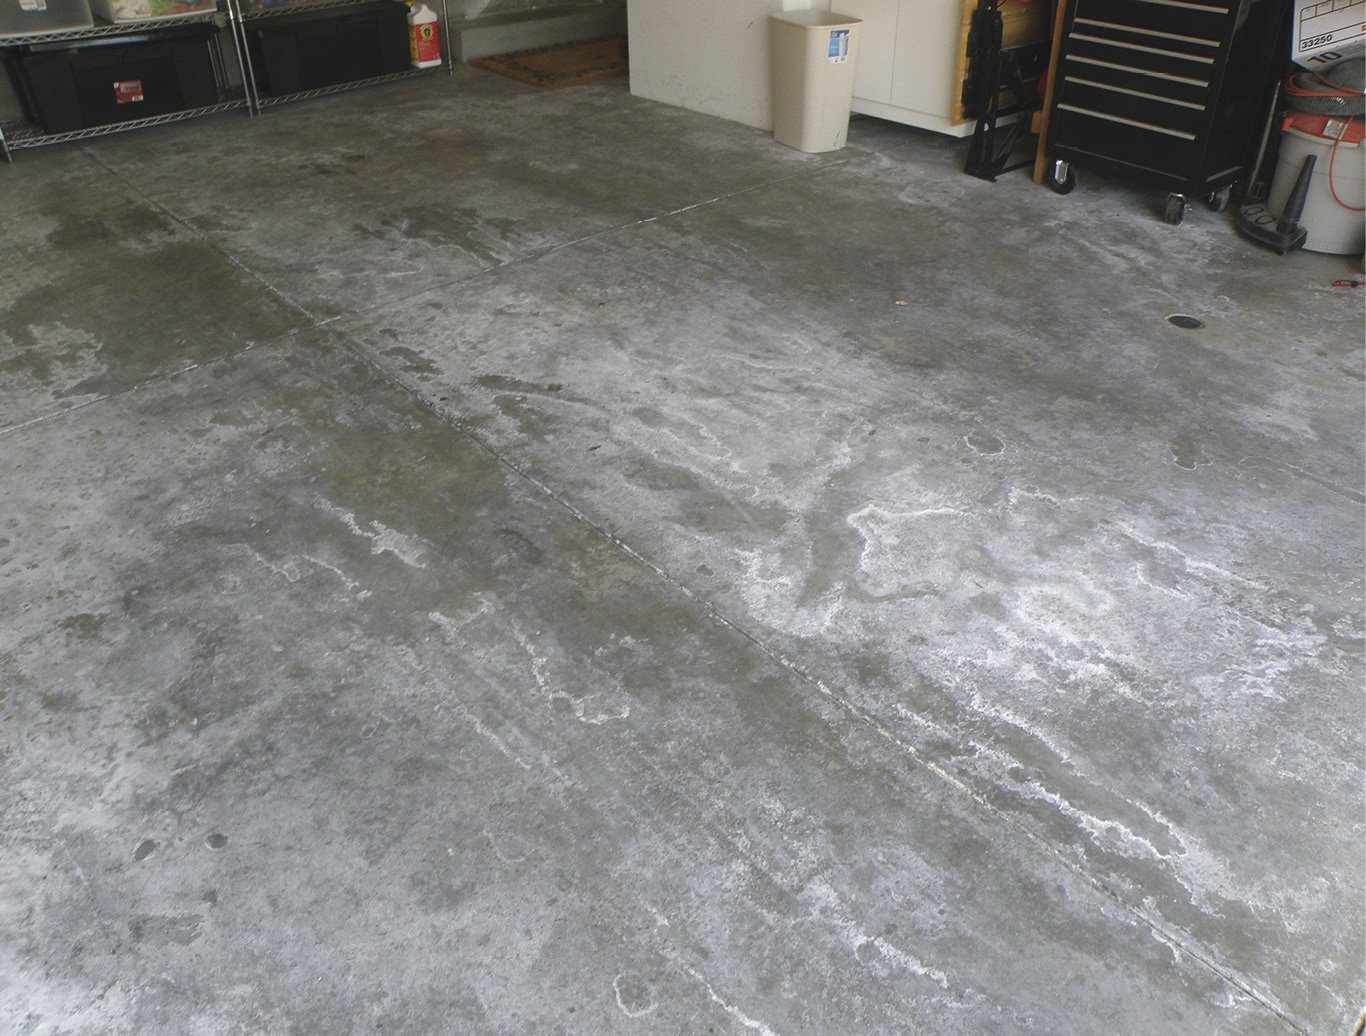
- Condensed moisture vapor can deposit alkali/salt, which looks like white residue, on the floor. This indicates moisture problems
- Black stains on the floor
- Damp spots on the floor or areas of darker discoloration
- Signs of delamination on flooring that uses adhesive and/or grout during installation
- Cracking, lifting, bubbling, or peeling of the floor surface
Tests to Check for Moisture in Concrete Slabs

Image credit: allgaragefloors.com
1. Concrete Moisture Test
Considered one of the simplest test methods for determining whether there may be moisture in concrete, the ASTM D 4263 Concrete Moisture Test could provide you some information to work with.
To perform this, you’ll need to duct tape an 18-inch square piece of plastic onto the exposed side of the concrete and leave it on for sixteen (16) hours. If you notice condensed moisture accumulation under the plastic after then, it indicates a problem.
2. Calcium Chloride Test
Another test to try out for quicker results is the Calcium Chloride Test (ASTM F 1869). This is also known as the moisture vapor emission rate (MVER) test and takes just about 72 hours to produce results.
The calcium chloride test uses the weight differential of calcium chloride salt placed on the surface of the slab for over 72-hours to determine if there is a moisture problem.
To perform this test, the calcium chloride is placed in a sealed dish where it will absorb the moisture evaporating from the slab. The rate of evaporation is calculated based on the weight differential.
However, this test only measures the moisture in the top 1/2 inch of the concrete slab and is prone to inaccuracy due to ambient conditions. Keep in mind that this test type is not testing the moisture condition that matters over the long haul.
3. Relative Humidity Testing
Relative Humidity Testing (ASTM F2170) is a more accurate testing method. This is done using special moisture probes embedded in the concrete substrate. This will measure the presence and quantity of moisture throughout the depth of the slab.
Sources of Moisture in Concrete in a Work Site

Image credit: roushcivil.com
Here are some of the most common sources of moisture in concrete floors.
- Spots of water leakage, which may be as a result of unprofessional installation of the plumbing system
- Natural occurrences like rain and snow could pose a risk. You should also watch out for sprinkler systems. These could become more problematic if the grade of the ground around the slab slope towards the water source. In such cases, the concrete will absorb water from above and take runoff from areas around it
- Groundwater should also be checked before construction. It could be absorbed by the concrete slab and may lead to moisture problems
- Ambient conditions can be quite problematic during some moisture tests as well as increase the concrete slab’s water content
Check and ensure that these sources of water don't affect slab drying and curing at a worksite.
Causes of Excess Moisture in a Concrete Slab
While existing water sources could pose a problem, they’re not usually the real culprits. In fact, the problem could come from the concrete slab itself.
- Poor subfloor protection could cause excessive water to intrude the structure. And inadequate drainage around the slab will increase the risk of moisture problems. These problems can be solved by using the right vapor retarder. It is important that you keep to the ASTM standards, which recommend vapor retarders with a perm rating of 0.3 perms
- Installing the vapor retarder on the ground during construction; this affects its performance. Providing a form of separation will enable the vapor retarder to produce positive results. It should be installed over granular fill to create a separation
- Not giving the concrete slabs enough time to dry could also pose a problem. This is very common with fast-paced project plans
How to Prevent Moisture Problems on Concrete Floor
There are several actions you can take to prevent moisture problems on concrete floors. Some of these can be applied before the slab construction while others will help prevent moisture after slab construction.
Image credit: concretedecor.net
1. Allow the concrete slab to dry
While speeding up the drying process of the concrete slab could improve the working speed, allowing it to dry in a natural way could prevent the issue of moisture problems.
Give the concrete slab the time it needs and review the project plan and schedule if there a need. Keeping the ambient condition in control could speed up the natural drying process.
In addition, the space could be protected from outside elements.
2. Use damping agents
Damping agents could also help protect slabs from moisture problems. This will create a water-resistant layer that helps prevent moisture in the concrete slab.
This technique requires cleaning the surface and applying a damping agent for an existing concrete floor. The concrete may need multiple layers, depending on the level of moisture.
3. Use the right vapor retarder
Using the right vapor retarder shouldn't be overlooked. Ensure you follow the recommended perm ratings that reflect the needs of the space.
Another thing to take note of is when installing the vapor retarder. The installation should be done over a layer of fill. Inspect the vapor retarder for any tears and fix them before pouring the concrete.
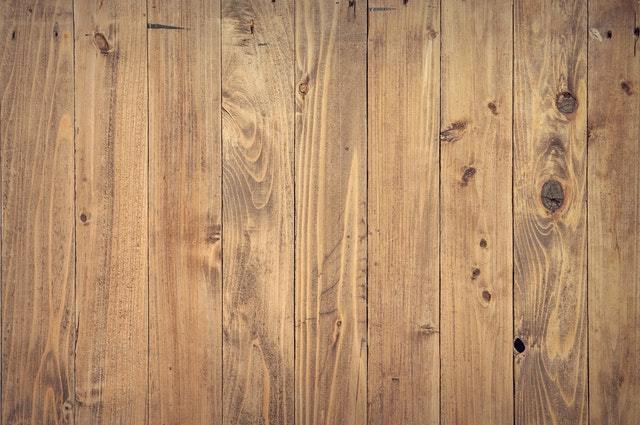
4. Install proper underlay
If wood flooring is going to be used, installing a proper underlayment between the concrete slab and the flooring will provide some extra protection.
The best choice could be a plywood underlayment that is tested to ensure it won't bring in new moisture.
5. Consider the building site
Take the necessary steps based on the type of building site. This means that if the concrete being used is below grade or being used at a wet building site, there should be more drainage lines to prevent moisture problems
Doing this properly implies that the water displacement methods shouldn't generate run-off in the wrong directions

Leave a comment
This site is protected by hCaptcha and the hCaptcha Privacy Policy and Terms of Service apply.